
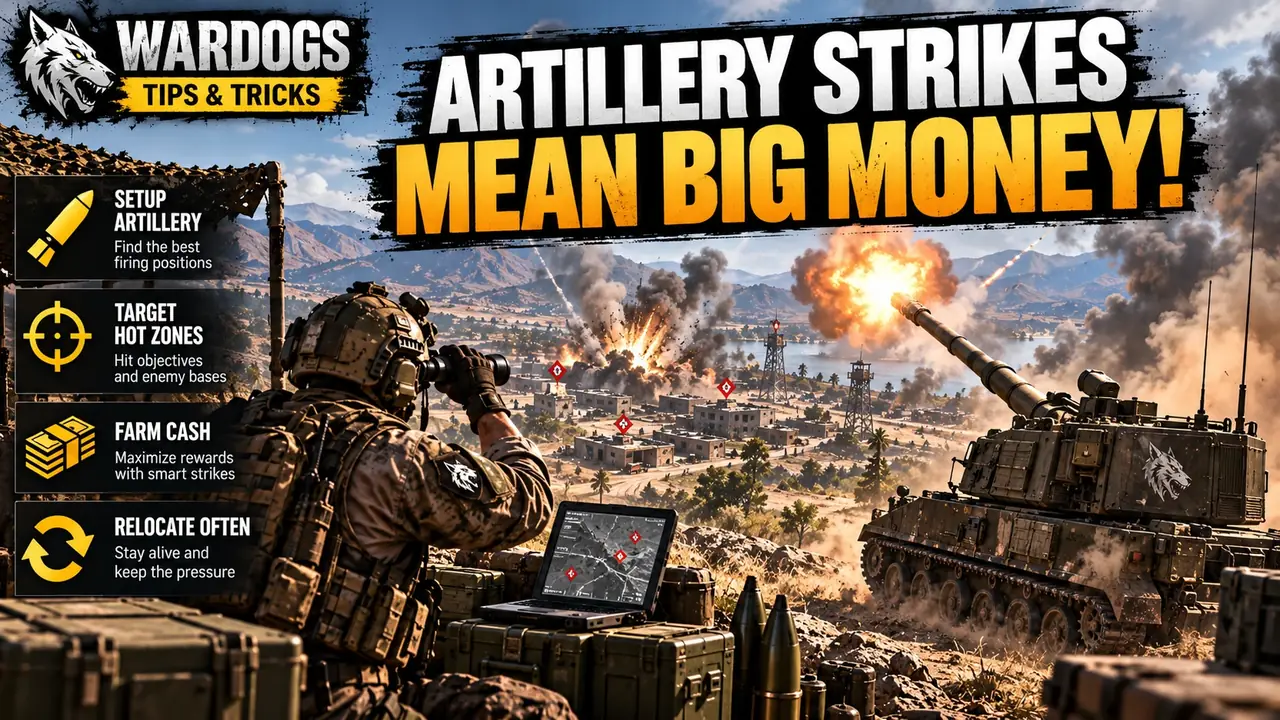
Artillery can generate major payouts when shells are landing on real targets instead of empty ground. The difference comes from positioning, accurate range information, fast reload habits and keeping the vehicle alive long enough to stay productive.
Unlock and cost
The PH2 artillery vehicle becomes a serious investment, so do not treat it like a disposable transport. Based on the reference material for this guide, the unlock is tied to War Dog level 55, with the initial purchase significantly more expensive than later replacements. Verify the live vendor price after major patches because economy values can change.
Use the correct ammunition
The PH2 uses 155mm high-explosive artillery shells. When requesting or arranging resupply, make sure the ammunition request matches the artillery system rather than standard tank ammunition. A perfect firing position is useless if the crew cannot keep the gun supplied.
Position far enough away to survive
A useful artillery nest should be far enough from the frontline to reduce exposure to common infantry anti-tank weapons, but close enough to maintain practical range on important objectives. The reference setup uses roughly 1,600–2,000 meters depending on the target.
Use terrain to break direct sightlines and avoid parking on an obvious skyline. Once you stop, shut off the engine so you conserve fuel and can hear approaching infantry or helicopters.
Stabilize and level the firing platform
Uneven ground makes repeatable aiming harder. Use a level position whenever possible. One community method is to build a small FOB support area and use aligned Hesco walls on a gentle slope to create a more predictable platform. Whatever method you use, the point is consistency: the same aim should produce the same result.
Calculate range before wasting shells
Use map grid distance, known landmarks, teammate marks or an artillery calculator to estimate the exact range and elevation. Fire a test round when needed, observe the impact and correct methodically rather than guessing wildly.
Reload immediately
After firing, begin the reload sequence immediately and complete the displayed input sequence quickly. A fast crew keeps pressure on the target and makes it easier to correct from one impact to the next.
Relocate before the enemy solves your position
Artillery fire is loud, visible and predictable. Skilled opponents will use the sound, direction of fire, drones, helicopters or fast vehicles to hunt you. Do not assume a safe position stays safe for an entire match. Fire a productive series, reassess, and move when the enemy begins reacting.
Defend the artillery nest
If you are operating from a semi-permanent firing position, add vehicle blockers and anti-air where practical. A small amount of defensive preparation can protect a very expensive asset from a low-flying helicopter or fast ground vehicle.
Full artillery walkthrough
FAQ
What ammo should I request?
Use 155mm artillery shells for the PH2 setup described in the reference video.
Why move after several minutes?
Repeated fire gives the enemy information. Staying in one nest too long makes counter-attacks increasingly likely.
What makes artillery profitable?
Accurate, useful fire and survival. Missed shells and destroyed vehicles turn a potentially strong income method into an expensive loss.